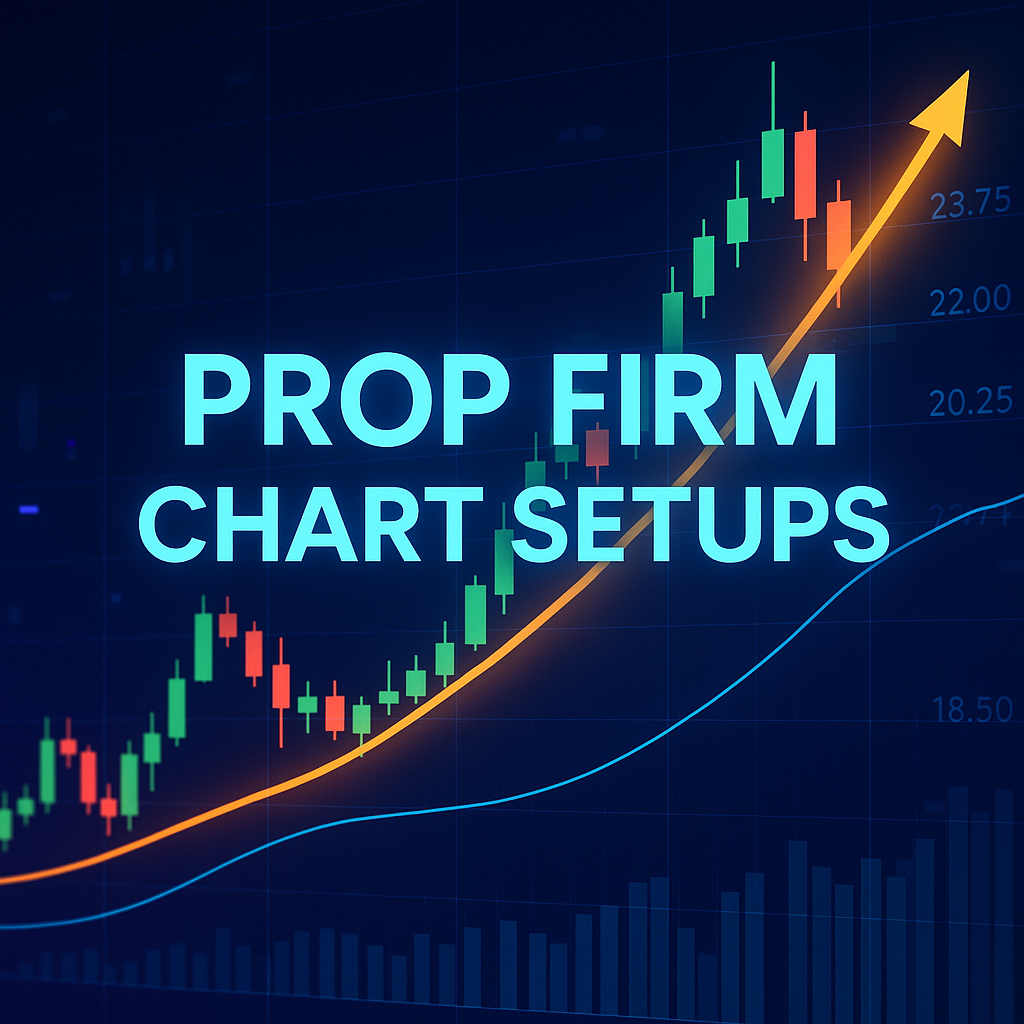
Introduction: Why Prop Firm Chart Setups Matter
In the world of proprietary trading, performance is everything—and a strong edge often starts with how you view the market. One of the most overlooked aspects of consistent profitability is the structure of your trading workspace. Choosing the right prop firm chart setups is crucial when you’re operating under strict rules and tight risk management systems. With limited room for error in funded accounts, a clean, well-thought-out chart layout can be the difference between disciplined execution and emotional mistakes.
This guide breaks down the most reliable chart setups used by successful traders, helping you streamline your screen time and increase precision across every trade.
The Core Elements of a Clean Trading Chart
Before exploring setup types, every trader should understand what a clean chart looks like in a prop environment:
-
Minimal indicators: Use only the most essential tools—too many lines can clutter your decision-making.
-
Consistent timeframes: Align your entries and confirmations across multiple timeframes.
-
Pre-marked zones: Key support/resistance, order blocks, and psychological levels should be marked before active hours.
-
Session separators: These provide context on volatility patterns tied to specific global sessions.
With these fundamentals in place, let’s dive into the most effective chart layouts.
1. Classic Price Action Setup
Price action remains one of the most favored techniques in funded trading. The setup focuses on naked charts, clean candlestick structures, and dynamic support/resistance levels.
How to Build It:
-
Use a white or black background with only candlesticks.
-
Add daily and weekly horizontal levels manually.
-
Incorporate a 20 EMA to spot trend pullbacks.
This chart is excellent for traders who rely on visual clarity, structure breaks, and clean entries without distractions. It works especially well in prop firm environments that discourage overcomplication.
2. The Trend Continuation Layout
One of the most reliable prop firm chart setups is the trend continuation model. Funded traders often seek consistency, and trending markets provide just that.
Key Components:
-
Higher timeframes (H1, H4) show the macro trend.
-
50 EMA and 200 EMA to define trend direction.
-
RSI or MACD for momentum confirmation.
-
Zones marked where price pulls back toward the trend.
This setup is particularly useful when scaling into positions or trading with a tight drawdown ceiling.
3. Breakout and Retest Configuration
In prop challenges, traders often aim to capture explosive moves with low-risk entries. The breakout-and-retest setup provides that edge.
Setup Design:
-
Draw horizontal support/resistance levels on H1 or M30.
-
Add a volume indicator (like OBV or Volume Profile).
-
Use a 9 EMA to track intraday direction.
Wait for price to break above a major level, then retest that level with confirmation (wick rejection, volume spike, engulfing candle).
4. Multi-Timeframe Confluence Setup
Confluence improves probability. This setup involves layering key levels from multiple timeframes and executing on the lower ones.
How It Works:
-
Start with H4 and D1 to identify swing levels.
-
Mark S/R zones and Fibs from higher TFs.
-
Drop down to M15 or M5 to enter trades.
This setup increases confidence by aligning short-term price action with broader market direction—a must for traders working with prop firm rules.
5. Scalper’s Minimalist Setup
Some prop traders thrive by taking small, frequent wins. This minimalist setup is perfect for fast decision-making.
Ideal for:
-
Low-timeframe scalping (M1–M5)
-
Tight stop-losses and quick exits
Chart Tools:
-
Use only price candles and session highs/lows.
-
Add a VWAP or session average line.
-
No oscillators or trend indicators—just raw price data.
Speed and simplicity are key here, especially during volatile windows like London or New York open.
Using Chart Templates to Stay Consistent
Regardless of your preferred setup, using templates ensures uniformity across instruments and sessions. Most platforms allow you to save and replicate charts quickly. This is particularly beneficial in a prop environment where consistency is monitored over time.
Moreover, maintaining a journal of chart screenshots can help you refine setups, spot repetitive patterns, and develop discipline across trades.
How Prop Firm Chart Setups Improve Evaluation Success
The evaluation phase is often where traders lose their funded opportunity—not due to lack of skill, but due to inconsistency and overtrading. By sticking to pre-tested prop firm chart setups, traders reduce impulse trades and increase the likelihood of systematic entries. This structure plays a direct role in meeting profit targets without breaching drawdown limits.
Chart Setup Tips from Larsa Capital Traders
At Larsa Capital, funded traders are encouraged to build chart environments that promote precision. Based on performance data and community insights, here are some practical recommendations:
-
Use color coding for support (green), resistance (red), and neutral zones (gray).
-
Maintain a two-screen workflow—one for analysis and one for execution.
-
Avoid indicator overload—if it doesn’t directly inform your entry or exit, it’s likely noise.
-
Test setups in demo before using live—what works visually for others might not align with your style.
These small adjustments can significantly enhance long-term funded trading results.
Final Thoughts
The path to consistency begins with clarity—and nothing supports clarity like a well-organized chart. Whether you’re a scalper, trend follower, or breakout trader, adopting proven prop firm chart setups helps eliminate distractions and focus on execution. Ultimately, the right chart layout becomes a key pillar of your edge as a funded trader.
Don’t underestimate the power of visual simplicity in a high-pressure prop environment. Take time to build, test, and refine your setup—and let it become your silent trading partner.